Some people collect shoes. Some collect houseplants. Photographers? We collect filters, those mysterious round things that screw onto your lens and make you look like you know what you’re doing. But here’s the truth: most photographers have, at some point, stood in a camera store staring at a shelf labelled “UV, ND, CPL” like it’s a secret code from National Treasure.
So let’s break it down. What are these filters actually for? Do you need all of them? Can you stack them like pancakes on a Sunday morning? And most importantly, will they fix your tendency to leave the lens cap on? (No. But we’ll get there.)
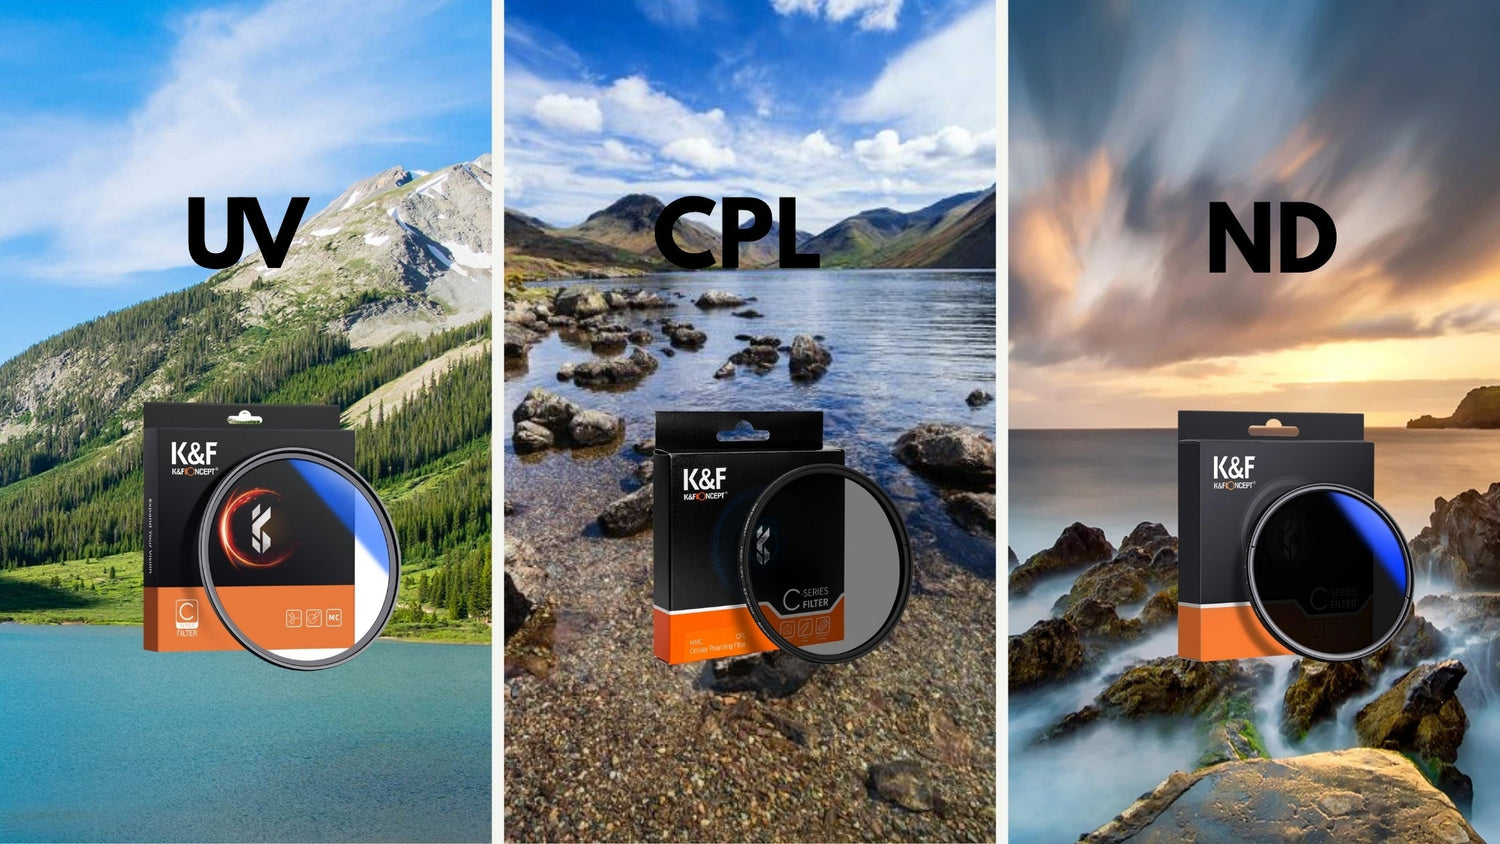
The UV Filter: Like Sunscreen for Your Lens, But Mostly Just a Helmet
Back in the film days, UV filters were like sunglasses for your negatives. Cameras couldn’t handle ultraviolet light well, so these filters helped cut through the haze, especially when shooting at high altitudes or near water. Nowadays, digital sensors already come with built-in UV protection, so the UV filter has had a bit of a glow-down.
But that doesn’t mean it’s useless. In fact, many photographers still swear by UV filters, not for optical reasons, but because they act as a physical shield. Drop your camera lens-first into a gravel patch, and you’ll be much happier replacing a cracked R300 filter than a shattered R15,000 lens. It’s like putting a screen protector on your phone: you probably don’t need it... until that one tragic day.
Personally, I keep a UV filter on most lenses when I’m out shooting in unpredictable places, beaches, trails, toddlers’ birthday parties. You know, war zones. It's not going to change how your images look, but it might change how long your lens survives.
And hey, if someone tries to argue that it degrades image quality, just nod politely and pretend to care. The real damage was already done when they shot a wedding in JPEG.
The ND Filter: When the Sun’s Out and You Want Drama, Not Overexposure
ND stands for Neutral Density, but I like to think of it as "Nice, Dramatic", because that’s exactly what this filter helps you create. Essentially, it reduces the amount of light hitting your sensor, without altering the colour of your scene. Why would you want to block light? Because sometimes you're not trying to fight the sun, you’re trying to control it.
Ever seen those magical long-exposure shots of waterfalls that look like melted silk? That’s an ND filter at work. Ever tried filming on a sunny day and ended up with footage that looks more like a telenovela than a cinematic masterpiece? That’s your cue to slap on an ND filter.
The best part? You get to slow your shutter speed during the day without completely nuking your exposure. Want shallow depth of field at f/1.4 on a bright afternoon? ND’s got your back. Want light trails from passing cars without waiting for golden hour? ND again.
Of course, it’s not all smooth sailing. Using a strong ND can turn your autofocus system into a confused toddler blinking in the dark, unsure of what to do. You’ll likely need to manual focus, and remember to bring a tripod unless you enjoy accidental impressionist art.
Still, it’s one of those tools that, once you get the hang of it, will have you posting captions like “long exposure therapy 🌊✨” and meaning it.
The CPL Filter: Goodbye Glare, Hello Drama
Now let’s talk about the real MVP of filters, the CPL, or Circular Polarizer. This one’s for the control freaks among us, and I say that with love. If UV is passive and ND is cinematic, CPL is all about power. The kind of power that lets you erase reflections from windows, water, and even your own awkward silhouette when you accidentally photobomb your own shot.
Twist the CPL ring and you’ll physically see reflections disappear, skies deepen into that rich, cinematic blue, and leaves turn a luscious green that makes your camera feel like it’s been sipping spinach smoothies. It doesn’t just remove glare it makes your images look like they were taken on a better planet.
But it’s not just for nature photographers and outdoorsy influencers who travel with a drone and a dog named Astro. CPL filters are lifesavers for car photographers, product shooters, and anyone trying to take a photo through glass without seeing themselves doing the “photo squat.”
Just be warned it needs to be rotated to find the sweet spot, and it does cut down a bit of light, usually around one to two stops. So maybe leave it off when shooting inside a dimly-lit room unless your camera enjoys being pushed to ISO 5000. Mine starts crying.
Oh, and let’s not forget the drama. Using a CPL on a cloudy day? That’s like wearing sunglasses at night. You might still look cool, but you’re missing the point.
Can You Stack Filters? Or Are You Just Asking for Trouble?
This is the question that divides photographers faster than Canon vs Nikon. (Just kidding. Everyone uses Sony now.)
The short answer is: yes, you can stack filters, but whether you should is another story.
Stacking a UV with an ND? That’s pretty harmless and often useful. Protect your lens while keeping your exposure under control. Stacking a CPL with an ND? That’s actually a popular combo for video creators and landscape photographers who want both light reduction and glare control. Like wearing a hoodie and a leather jacket, practical and stylish.
But stack too many, or use cheap filters, and your lens might start looking like it’s peeking through a porthole. Vignetting creeps in at the corners, ghosting appears like it’s auditioning for a paranormal show, and before you know it, your crisp image turns into a soft, dreamy mess (and not the good kind).
If you really need multiple effects, consider investing in high-quality filters or even combo filters that fuse CPL and ND into one. It’s less fiddling, less stacking, and fewer chances to accidentally screw something on crooked and spend five minutes pretending you didn’t just cross-thread a R1,000 mistake.
So Which One Should You Use?
If you're just getting started and want to keep your lens safe while looking like you know what aperture does, get yourself a UV filter. It's basic, but dependable like a loyal assistant who never says much but always brings snacks. If you love drama, motion, or want to get creative with long exposures and cinematic vibes, go ND. It’s your moody, artsy friend who always has a tripod and insists on shooting at golden hour “because it feels right.”
And if you're out to slay reflections, deepen skies, or just want your images to look like they came out of a premium Lightroom preset pack, grab a CPL. That one’s the perfectionist the “let’s rotate this just right so the clouds look emotionally complex” type.
And yes, you can stack them. But just like pancakes, moderation is key. Too many layers and things get floppy and weird.
Wait! What Size Filter Do I Need?
Ah, the million-rand question. Because nothing’s worse than excitedly unboxing your shiny new filter, only to discover it doesn’t fit your lens and now looks like it belongs on a Barbie camera.
The size of your filter has nothing to do with your lens’s focal length (so no, a 50mm lens doesn’t automatically take a 50mm filter, sorry to your wallet). What you’re looking for is the filter thread size, which is usually written in millimeters and marked with a little circle and line symbol that looks like someone tried to draw a camera on a hangover.
Look for this symbol: ø
You’ll usually find something like ø67mm printed on the front or side of your lens, near the glass or on the barrel. That little “ø” means diameter, and the number is the filter size you need.
So, if your lens says ø77mm, you need a 77mm filter. Not 75. Not 72. Not “close enough” this isn’t horseshoes.
If you’ve lost the lens cap (again), you can also:
• Google your lens model + “filter thread size”
• Or check the lens specs on the manufacturer’s site
• Or, if you're feeling rebellious, whip out a ruler and measure it yourself (not recommended unless you also enjoy measuring lasagna noodles for accuracy)
Pro Tip: Step-Up Rings
If you have multiple lenses with different filter sizes and don’t want to remortgage your house buying duplicates, you can use step-up rings. These little adapters let you use one larger filter across multiple smaller lenses.
For example:
Got a 77mm ND filter and a lens with a 67mm thread? Slap on a 67–77mm step-up ring, and you’re good to go. It’s like using one hat for different-sized heads. Stylish and frugal.
Just don’t go the other way (step-down rings) unless you enjoy vignetting and emotional disappointment.
Final Thoughts: Filter the Light, Not the Passion
Filters aren’t mandatory, but they’re the secret sauce that can take your images from “nice” to “hang on, you shot that?” They’re not shortcuts, they’re tools. Extensions of your creative brain. And sometimes they’re just there to protect your gear from a rogue wave, a flying stone, or that one clumsy moment where you trip over your own camera bag. Start with what you’ll use most. Learn how each filter changes the way light behaves in your frame. And remember: photography is basically wizardry with science and glass filters just give you more spells to cast.
Now get out there, twist that CPL, slow that shutter, and for the love of bokeh… take the lens cap off first.